
In the first post of this series we looked at Mediachance’s Dynamic Auto Painter. In response, one photo forum poster asked me how DAP compared to Topaz Studio. So let’s take a look!
Topaz Studio is described as “The future of creative photo editing… with powerful filters and frictionless masking in a fine-tuned non-destructive layer workflow”. It’s a complete photo editing package, and creating art is just one of its many strengths.
I’ve been using a combination of Topaz apps to prepare my images for my Fine Art America and Redbubble galleries. Gigapixel + Topaz Studio>Impression is a perfect combo for this purpose.
*NOTE: ALL Topaz products are ALWAYS 15% off from the Plugs ‘n Pixels Discounts page!
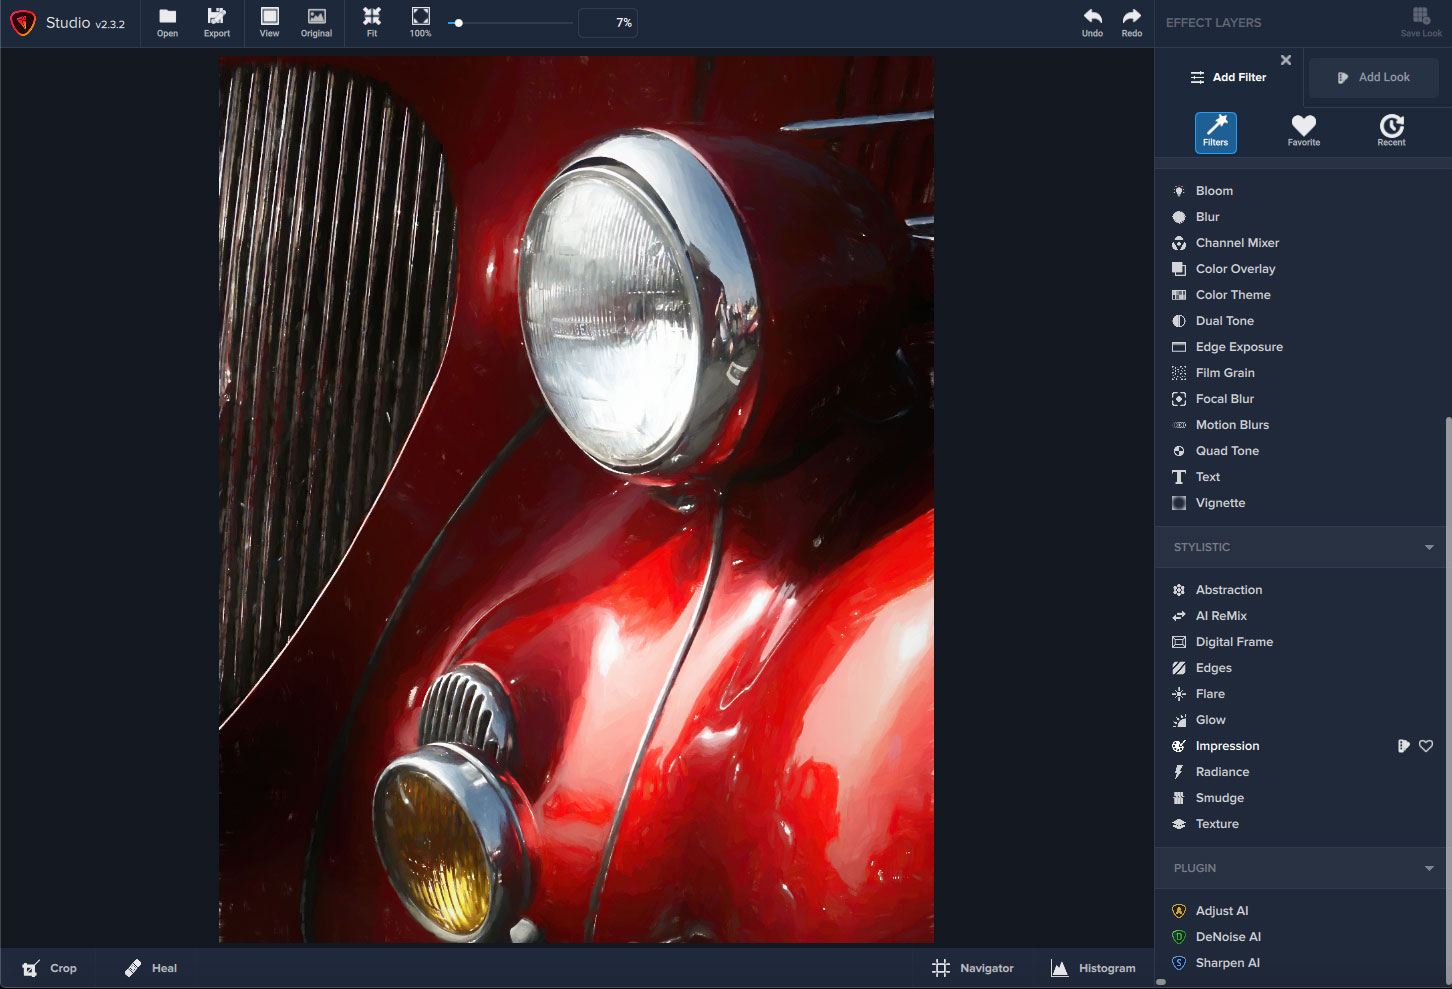
When you open your image in Topaz Studio you will see this (a preview of your image and a list of “Filters” and “Looks” in the right panel). Note the presence of “Impression” under the STYLISTIC heading. That little option opens up a whole world of digital art creativity!
(Open on any screenshot in a new tab or window for a 100% view.)
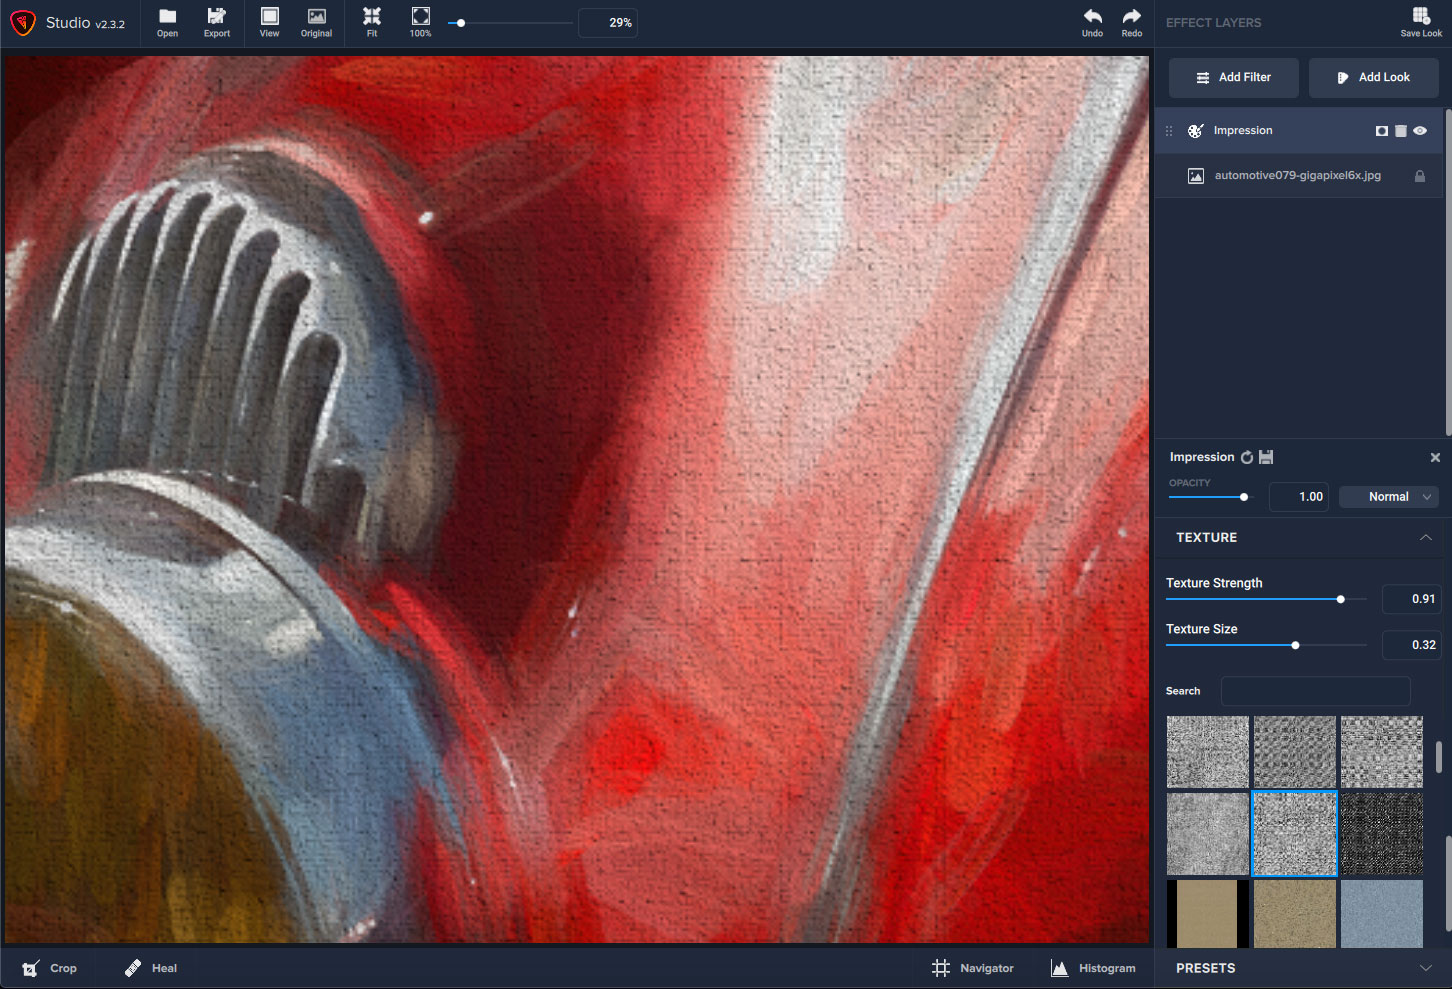
After you click on the Impression filter, you will see relevant options as follows: STROKE (brush types followed by many separate settings controlling how the brushes and paint work together), COLOR (HSL settings), LIGHTING (Brightness/Contrast/Highlight/Shadow/Light position and Vignette, TEXTURE (Strength and a large selection of texture types and finally PRESETS to get you started quickly.
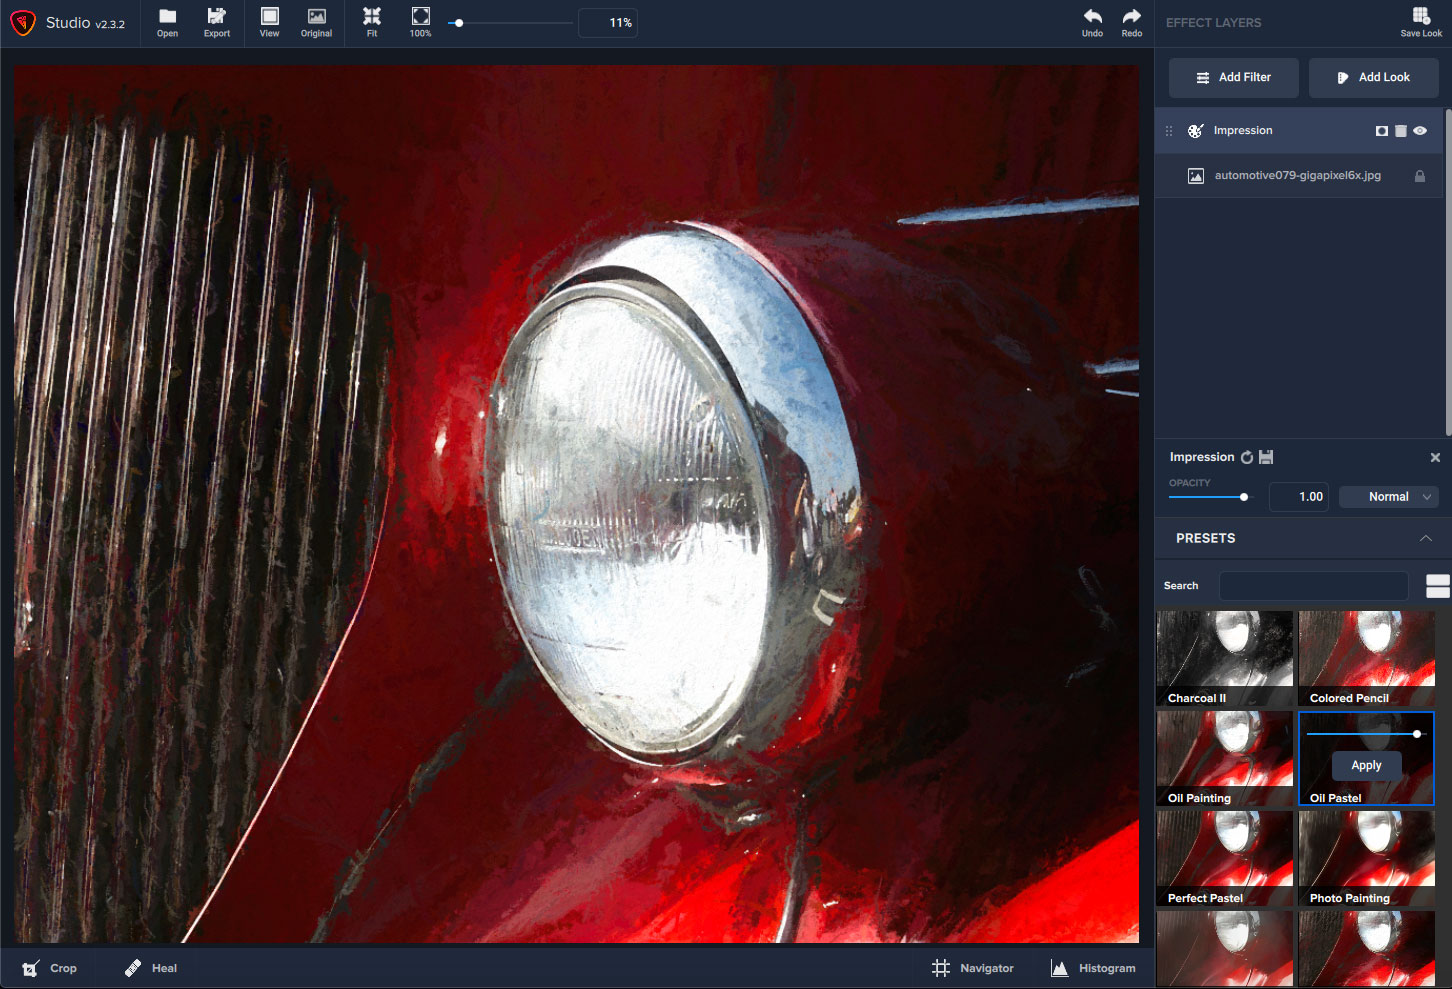
Here I am using a preset called Oil Pastel for the promised 1-click immediate results. That was easy!
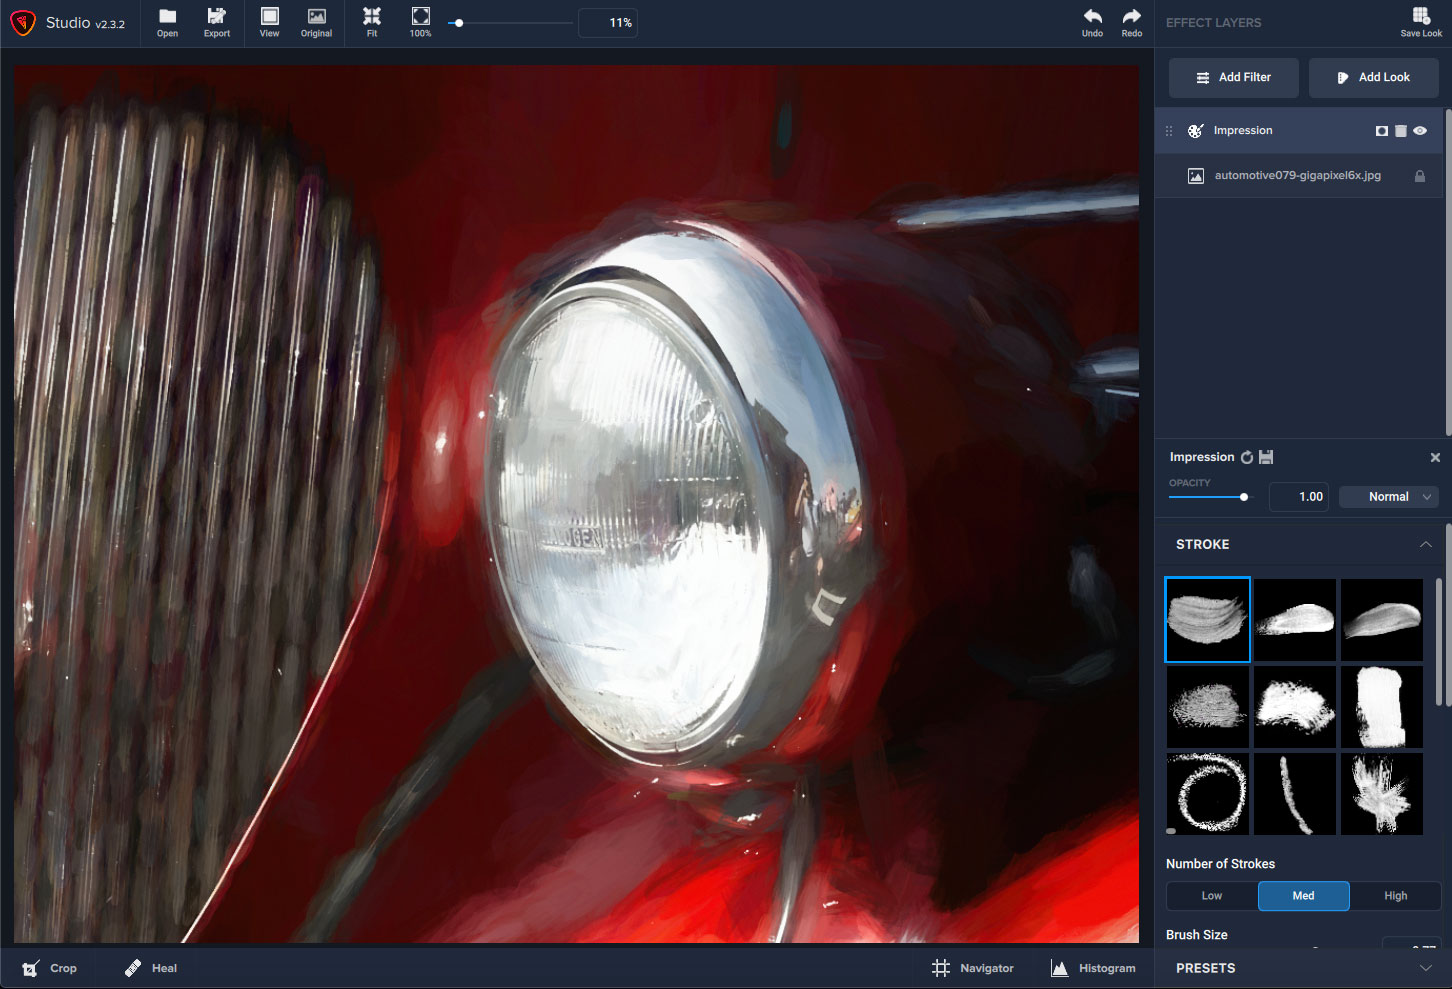
If you’d like a little more control (since single-clicking is not strenuous…), go back to the Impression layer at upper right and choose STROKE to reveal the various brushes. I’m getting this result using the first brush, “type01”:
Here is a close look at how an applied texture looks (one of the canvas textures):
*NOTE: ALL Topaz products are ALWAYS 15% off from the Plugs ‘n Pixels Discounts page!
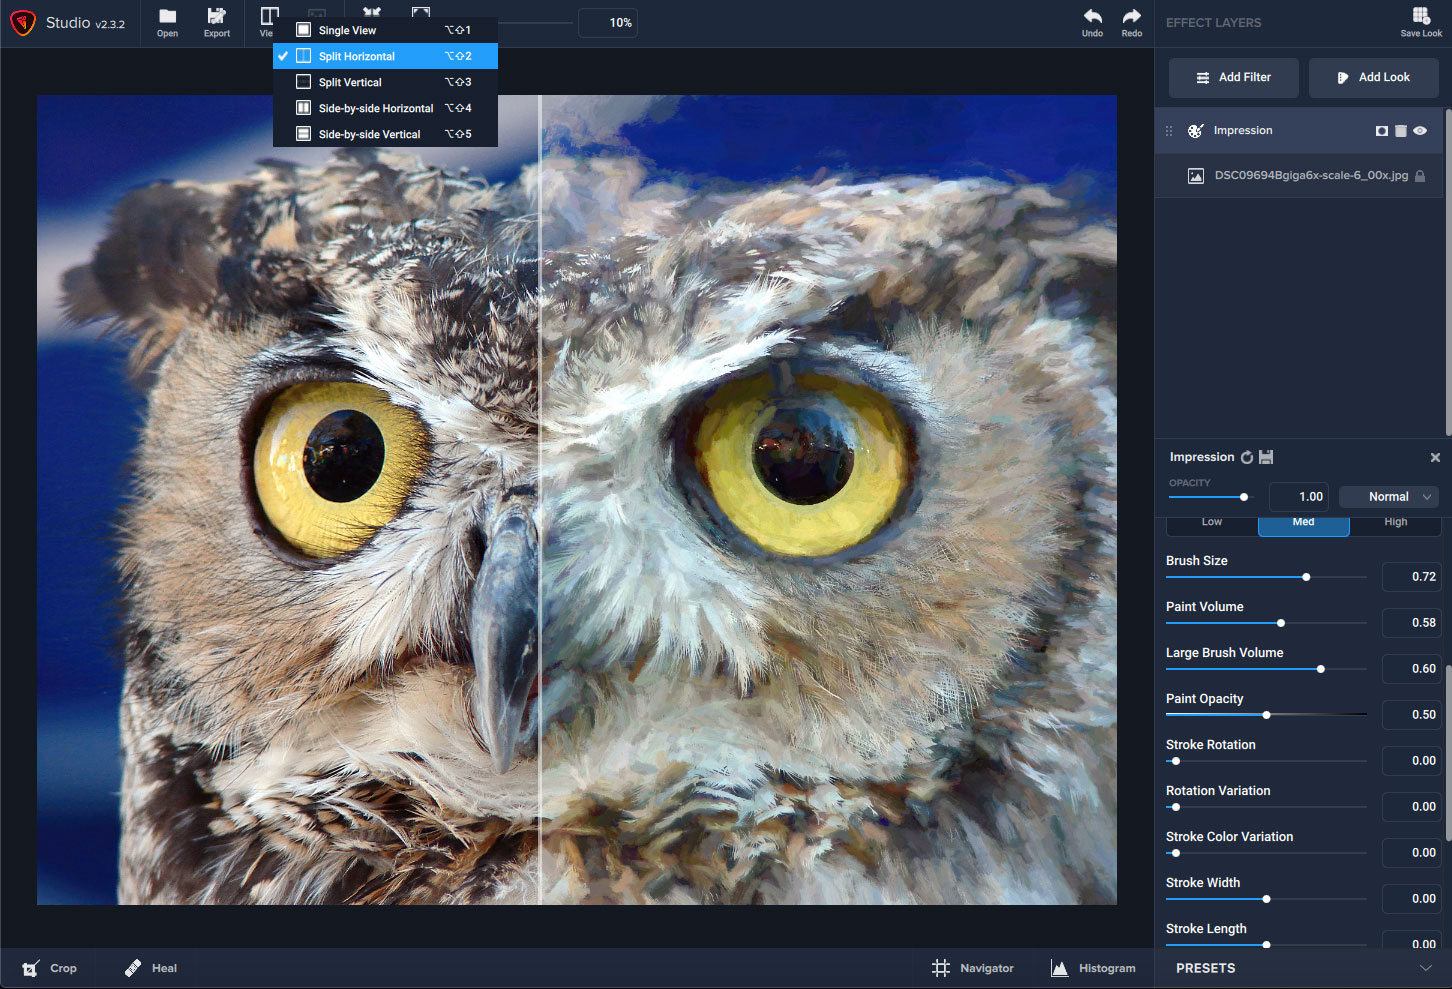
A helpful way to see the before-and-after progress of your art choices is the split or side-by-side screen viewing options. Here is Split Horizontal:
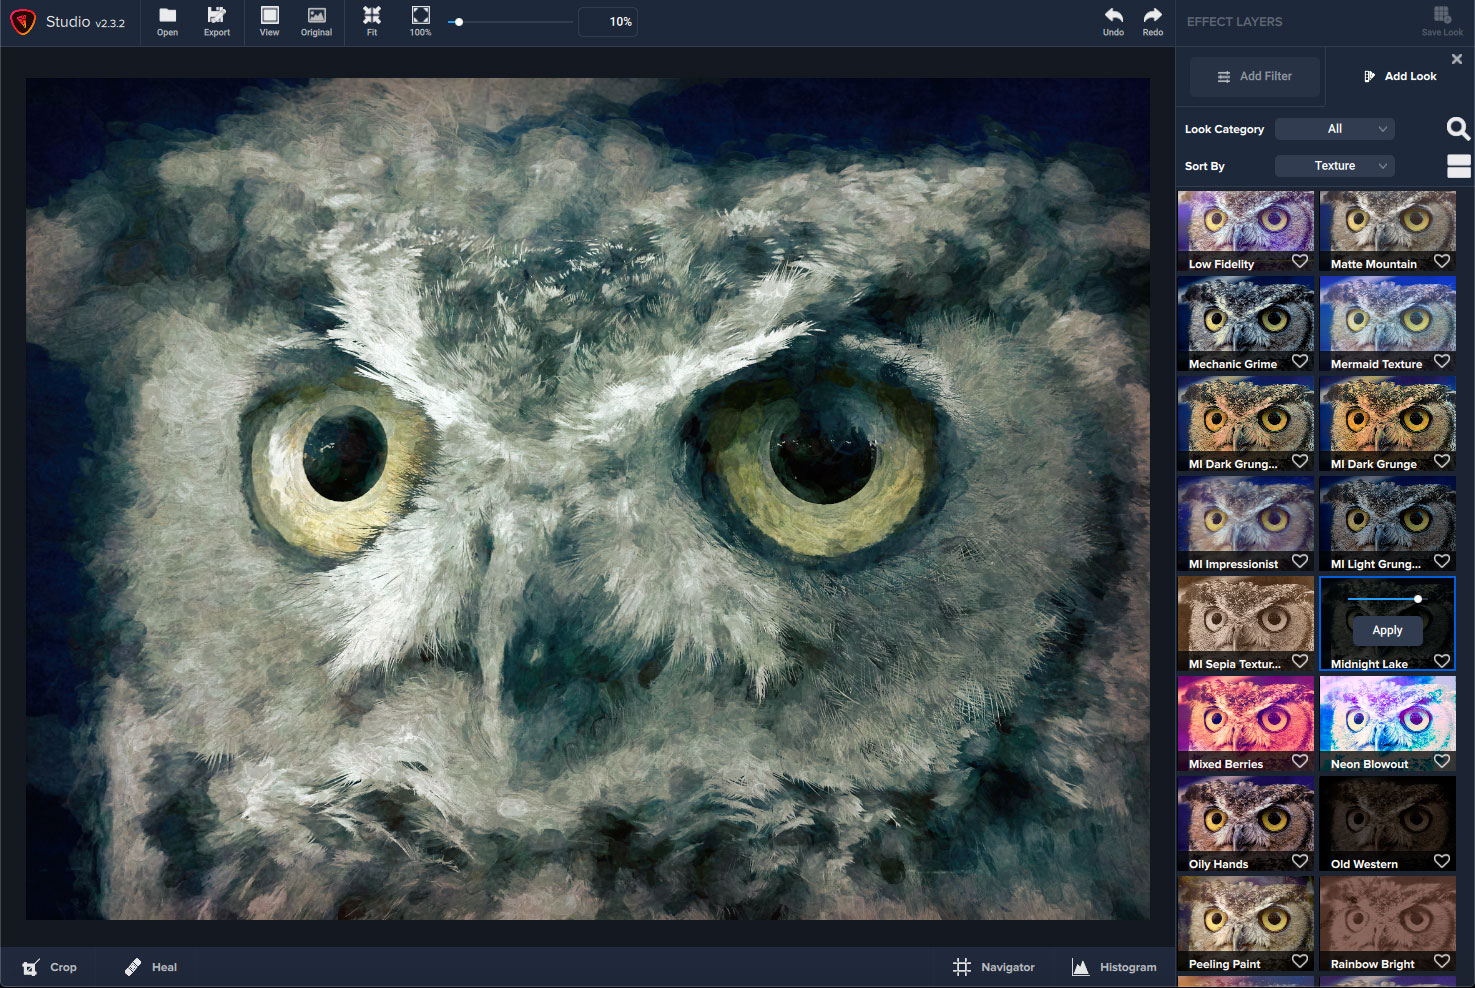
The owl art turned out well so here is a highly magnified view of the paint effect on one of his eyes:

You can apply additional Filters and Looks on top of your Impression effects as familiar layers. Here I added the “Midnight Lake” Look to my art layer to change the mood to be more night owl-appropriate:
Each Look layer is also fully editable! Here is “Breaking Through” as applied to art effects already added to my 1985 photo of these German wine bottles. You can view, edit, add masks or even remove any of a Filter’s components when you expand the folder:

*NOTE: ALL Topaz products are ALWAYS 15% off from the Plugs ‘n Pixels Discounts page!
Below are some more results I got in Topaz Studio using the Impression filter on various photos in my collection.
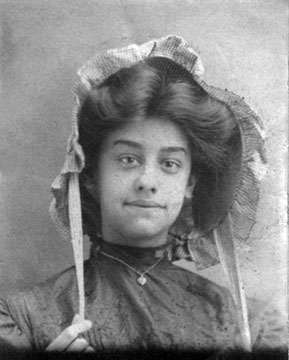
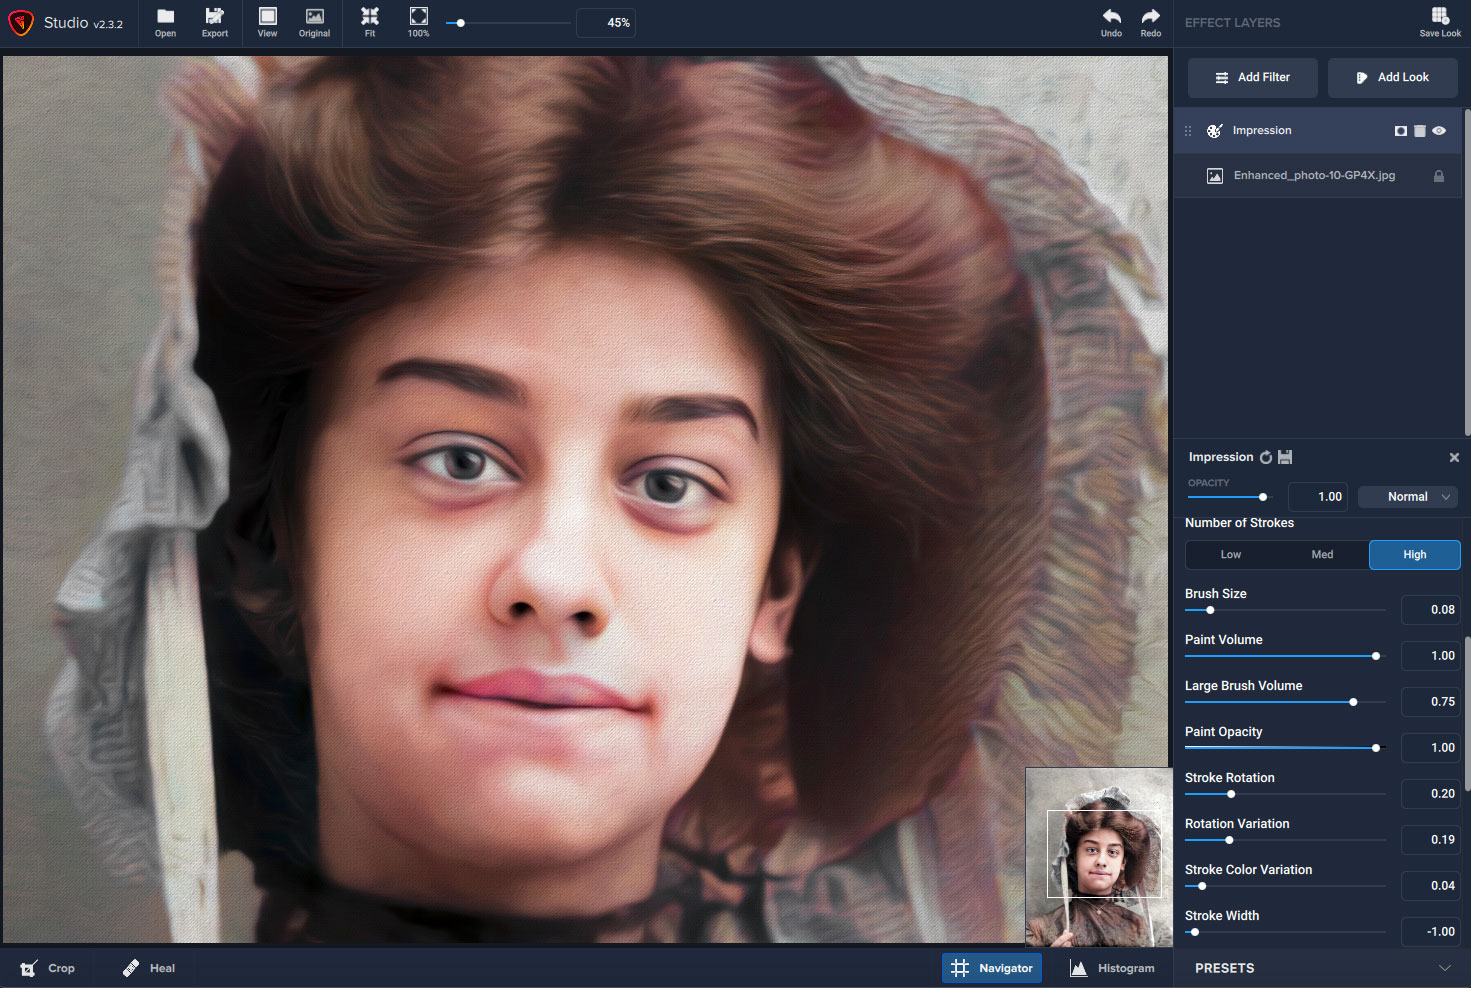
This early-1900s portrait of my great-grandmother was previously colorized using an online photo service and greatly enlarged in Topaz Gigapixel before having Impression effects applied. Here is the original, and the Impression results:
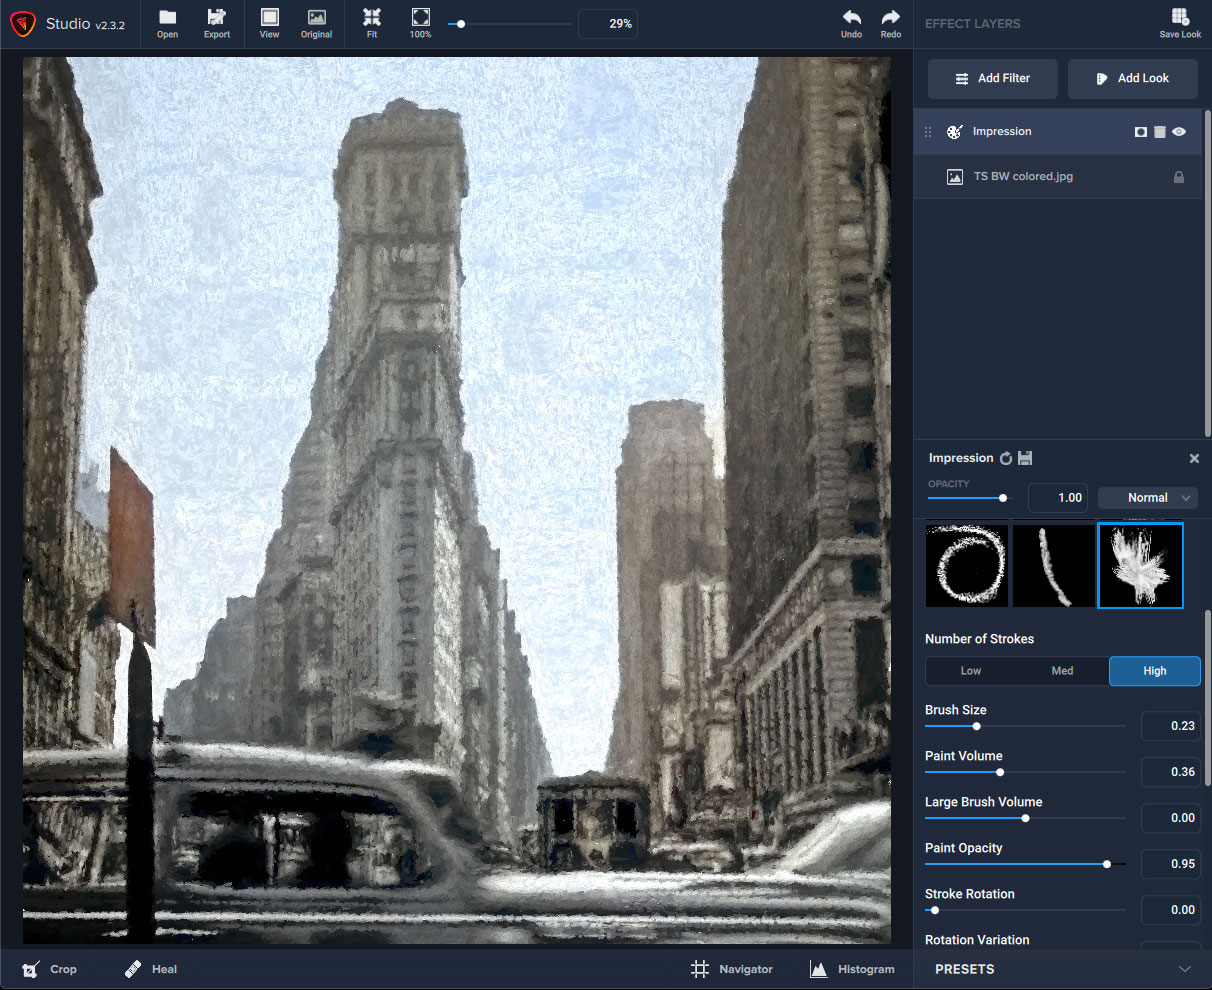
My great-grandmother’s daughter (my grandmother) took this photo in Times Square back in the early-1940s. I colorized/enlarged it and gave it the Impression treatment, manually adjusting sliders until I got this result:
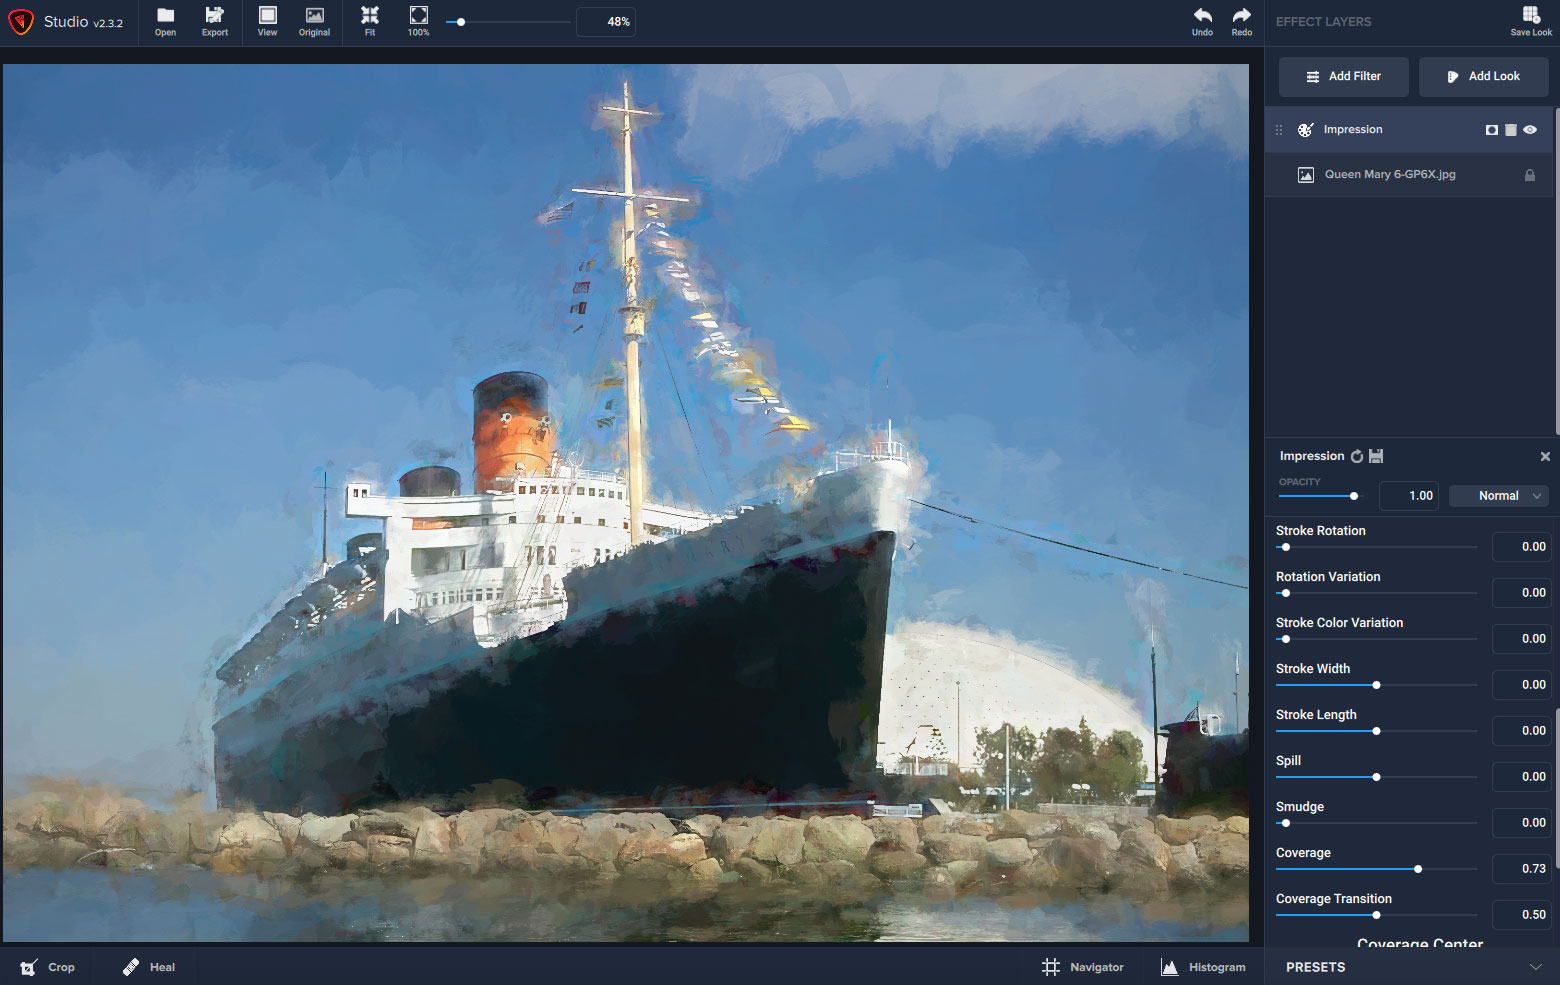
When doing “artsy”, the quality of the source photo is not of primary importance, since the art effect will “smush things around” and “cover a multitude of sins”. This photo of the Queen Mary was shot long ago with a 1-megapixel camera and enlarged in Gigapixel (to qualify for large products in the online stores) before Impression was applied:
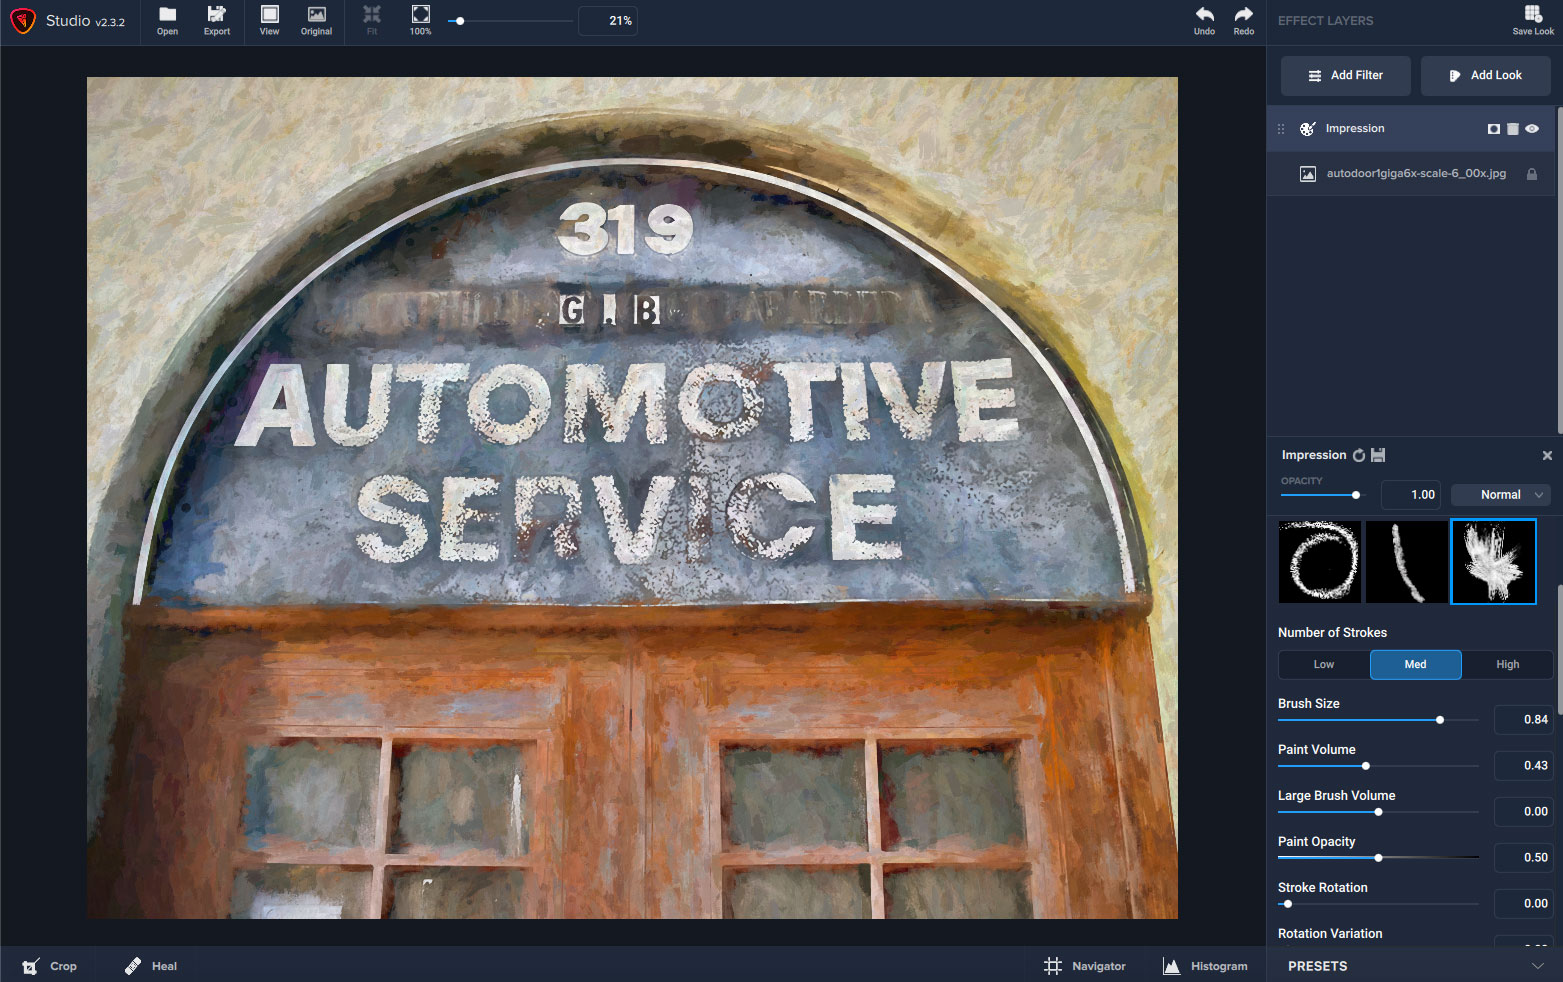
I’ll leave you with this last photo from my own collection, a rustic shop sign that no longer exists, given the Impression treatment:
*NOTE: ALL Topaz products are ALWAYS 15% off from the Plugs ‘n Pixels Discounts page!